 | Step One: It's best to start with simple shapes. Draw an oval for the clone's head, and then add a curved line for his collar area, as well as lines to show where his neck will be. Place a big plus sign directly in the middle of the oval. This will help you know where the eyes and nose should go. Be sure to draw this step with very light pencil strokes. You don't want to start using dark lines until you get to the final step. |
 | Step Two: Now that the basic framework is in place, you can start drawing the shapes of his head. Look at the example to see where his cheeks, eyes, nose and mouth should go, as well as his ears. You can also give more of a definitive outline to his neck and the ridges of his armor. Be sure to keep your lines light and loose. Don't be afraid to erase and redraw as much as necessary to get it looking just the way you want it to. |
 | Step Three: Start adding some details, such as his pupils, eyebrows, the lines around his nose and mouth, and his lips. It's really up to you how much detail to add. Just have fun with it and keep your lines light, and then when you're happy with how it all looks, you can move on to Step 4. |
 | Step Four: Now that everything is in place, it's time to finalize your drawing and go over your light pencil lines with darker lines. Use a pencil, pen, or marker -- anything you want. Be sure to fill in the black of his neck, as well as his pupils. |
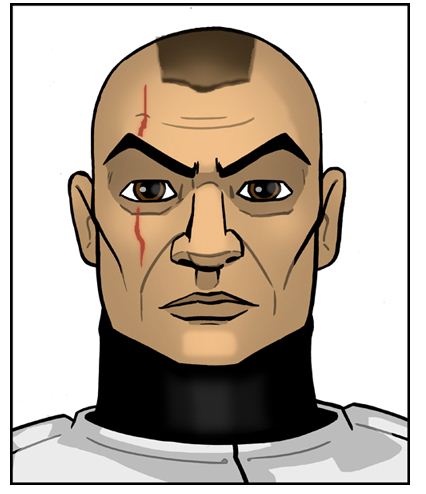
| Step Five: This is where the fun begins! You can design the clone to look however you want. You can give him any hair style, add a scar to his face, color it in, leave it black and white. It's yours to design, and when you're done, you can give him a cool nickname! |